ZZ plants (Zamioculcas zamiifolia) are among the most low-maintenance houseplants you can grow. And when you know how to propagate ZZ plants, you can easily create more of this tough plant to increase your own collection or share with friends. Below, you’ll find three ways to propagate ZZ plants and these plant propagation methods are so simple that beginning gardeners can easily master them too.
ZZ Plant Propagation Tips
Healthy ZZ plants can be propagated at any time of the year, but you’ll typically get the best results if you propagate plants when they’re actively growing in spring or summer. Like many other types of houseplants, ZZ plants can be propagated via leaf or stem cuttings, but you can also get new plants by dividing established ZZ plants at their roots. Which propagation method you select will depend on your gardening style and how quickly you’d like to get results; however, root division is the method to choose if you want to get new plants fast.
It's best to wear gloves when propagating ZZ plants because these plants can sometimes cause skin rashes.
Propagating ZZ Plants from Stem Cuttings
Many houseplants can be propagated from stem cuttings, which typically yield rooted plant starts earlier than leaf propagation. ZZ plant stem cuttings can be rooted either in soil or water, but because water propagation is usually a bit easier, those steps are included below.
Step 1: Using a clean, sharp knife or a pair of scissors, clip off a ZZ plant stem or two right at the soil line. If you happen to break off a stem when watering your plants, you can also use those broken stems to propagate new plants, but first trim the broken stem end with scissors to make a clean, straight cut.
Step 2: Place your cuttings in a clear glass filled with an inch or two of water. The cut ends of your stem cuttings should be fully submerged below the water line, while all ZZ plant leaves should be kept dry. If any leaves sit below the water line, remove those leaves so they don’t rot in the water.
Step 3: Place the glass with your cuttings near a sunny window that receives bright, indirect light and wait for roots to appear. ZZ plants are relatively slow growers, so it can take up to 3 to 4 months for roots to grow. During this time, replenish and refresh the water as needed (never let it turn cloudy).
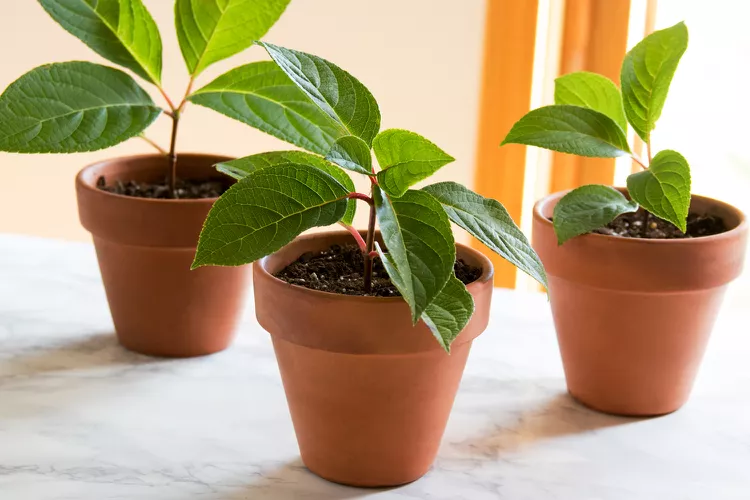
Step 4: When roots are about an inch long, remove your cuttings from the water and pot them up in a container with a drainage hole using well-draining potting mix. If you’d like, you can place several ZZ plant cuttings together in a single pot to create a fuller look. Then give your new ZZ plant a deep drink of water and move it to a spot in your home that receives bright, indirect light.
Propagating ZZ Plants from Leaf Cuttings
Leaf cuttings take a bit longer to root than stem cuttings, but they’re a good option if you accidentally knock leaves off of your ZZ plants. You may also want to propagate ZZ plants from leaf cuttings if you have a small ZZ plant and you don’t want to remove full stems.
Step 1: Cut off a ZZ plant leaf right at the stem using a pair of sharp scissors. If possible, make your cuts so that the leaf has a small section of stem attached.
While you can propagate ZZ plants from a single leaf, leaf cutting propagation isn’t as reliable as other methods, so you may want to propagate 3 to 5 leaf cuttings at a time to increase your chances of success.
Step 2: Place the bottom section of your ZZ plant leaves, stem end down, into a pot filled with fresh potting mix. Water the potting mix well to help settle the soil around the cutting.
Step 3: Place the pot with leaf cuttings in a location that receives bright, indirect light. For even better results, try covering the pot with a clear plastic bag or plastic humidity dome to keep humidity levels higher.
Step 4: Over the next few months, water your leaf cuttings often so that the soil stays consistently moist, but not soggy. Leaf cuttings should start to sprout roots in about 3 to 4 months. Once those roots have developed, you can either leave your leaf cuttings in the pot they’re growing in or you can repot them into a larger container to give them more room to grow.
How to Divide ZZ Plants
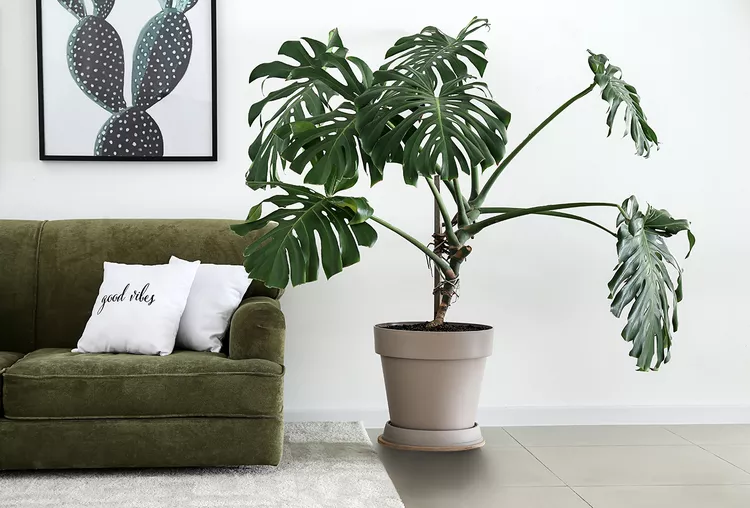
Division is the most reliable way to propagate ZZ plants and it also yields faster results than other methods. However, division is a messier process, so you may want to wait until you need to repot ZZ plants to divide them. This propagation method is ideal for large ZZ plants and it can make overgrown plants smaller and easier to manage.
Step 1: To divide a ZZ plant, first remove your plant from its pot. If your plant's roots don't slide easily out of the pot, try grasping all the plant stems in one hand and wiggling gently from side to side. It’s easier to divide potted plants with dry soil, so avoid watering your ZZ plant before you divide it.
Step 2: When your ZZ plant is free from its pot, gently tease the plant’s roots or rhizomes into smaller sections with your hands, taking care not to damage the rhizomes if you can help it. When you’re finished, you should be left with several new sections of ZZ plants, each with their own clump of rhizomes and several stout and healthy stems and leaves.
Step 3: Repot each ZZ plant section into its own individual pot using fresh potting mix. Then, water your new plants well and place them near a window that receives bright, indirect light.
New